Saturday, 22 October 2011

How to revive a synthethic wig

Since it's so close to halloween I was thinking of costume ideas and looking at what I already had from previous halloweens. I found a white wig in my press which would be perfect for what I had in mind, the only problem though was that it was a complete frizzy mess!! I wondered how could I fix this and after a little research on the net here is what I came up with.

Here is what the wig looks like to begin with, a frizzy mess!!

Here is what your gonna need to sort this mess out:


  • A clip (to hold the straightened sections away from the section your working on)
  • Spray water (I used this La Roche Posay sample one but you could use a spray bottle)
  • A leave in conditioning spray (this will help restore a bit of shine and give the wig a nice smell)
  • A round bristle brush (for to brush the wig, I find these ones work best)
  • A hair straightener/curling iron (not pictured above) (you need something with an adjustable heat setting so you can apply just enough heat without melting the fibers, in this tutorial I use my curling iron to straighten as my ghd doesn't have an adjustable heat setting.
First off taking a section of the wig, start by misting the spray water on to the section you are working on, next mist a little of the conditioner on. We don't want the fibers to be too wet but just enough so we can mould it with the heat. Then take your curling iron or hair straightener and set it to the lowest possible setting in my case this was 150 degrees Celsius. Then straighten the section, you may want to test this on part of the wig where you can't see first just to make sure and not to cause any damage that can be seen!


Next take your round brush and brush the section you have just straightened.


And here is the result from that one section! Alot better than what we started with.


Continue this method around the whole wig and you will end up with an all together much looking wig that you can now reuse for this years Halloween


I hope this helps and please remember to use caution with heated hair tools and also to try the lowest possible setting first and adjust accordingly.  I was really nervous when I tried this as it is not usually recommended to use heated products with a synthetic wig so use at your own discretion,
Much love
     RubySkullrose xx

Monday, 3 October 2011

Colourful FOTDs and sick!!

Heya pretties who read my blog (yes I'm talking to you)!  :)
 So a good lots happened since my last blog, I changed my hair colour to black but kept a bit of fun going on in the underneath by leaving the red in. It was a pretty big change and took me quite a while to get use to it, I had no idea in what direction to go with my makeup!


  But I soon got use to it and I'm really happy now because reds and neon pinks are gonna look so awesome all I need now is the Kat Von D waves!! So last week I did a really colourful look and also wore my fringe back and man did I look like a different person all together, sometimes it's nice to try something new. I used my 120 palette to create this look and it really cheered me up as it was quite gloomy out.


Excuse the whiteness of my face in some pics, not sure why that was happening! So fast forward to the next week, I was so busy I also had an interview in a pharmacy so was really stressed out, I'm expecting a call back so fingers and toes crossed. Due to my stress and also an immediate weather change I am now sick as I'm writing this so I've a bad cold which is slowly turning into a chest infection so off the doctors with me tomorrow.
  I decided to play with make up to cheer me up a little, although it was eleven at night ha ha, but it instantly lifted my mood and I loved the way it turned out and decided to curl my fringe for a rockabilly look.


It was heartbreaking having to take it all off, I immediately wanted to go out! I'm really loving fake lashes at the moment as well as you can see in the other look I have teeny eyelashes, so I think the fake ones really add to a look. Also as a suggestion from a friend I am considering doing video tutorials along with looks I post and also for my nail art as I know from my own experience its hard to see whats going on in a makeup look and also hard to follow picture tutorials as you can't see all the necessary steps, let me know what you guys think would love to hear from you all.

Well until next time,
   RubySkullrose xx

Saturday, 17 September 2011

Nail polish bargains

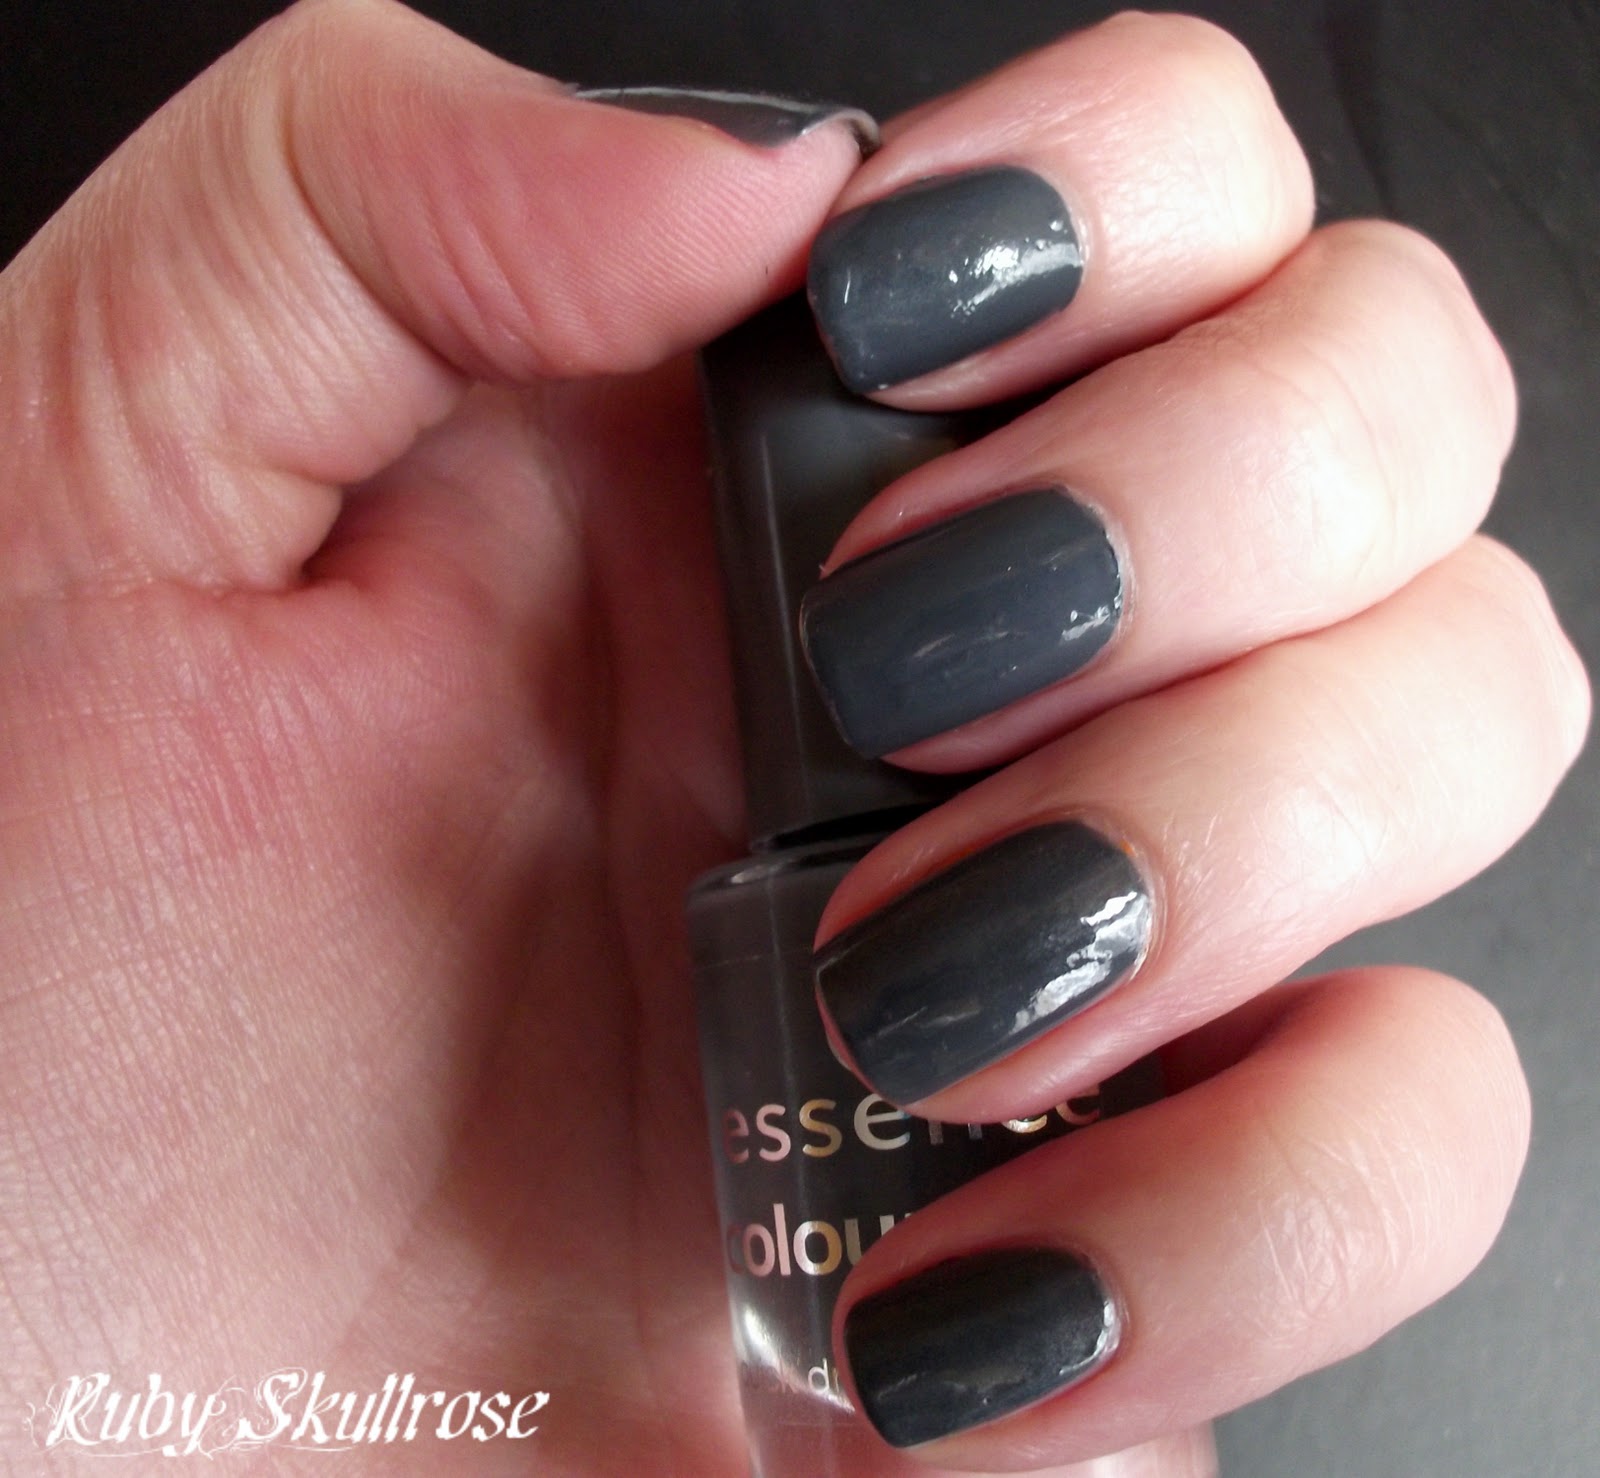
A while back when my laptop was being repaired I wandered into my local pharmacy and found they had a clearance on some essence nail polishes so of course I had to pick some up, here's what I got:

Essence "Chacalaca" from Whoom! Boom Collection
A lovely inky blue colour


Essence "You've got the Art" from the Whoom! Boom Collection  
Sort of a yellow green colour
Essence "Andy you're a Star" from the Whoom! Boom collection
A really bright orange
Essence's Colour and Go regular polishes in "Movie Star"
This looks so handy, can't wait to try it out will be good for doing polka dots too :)


Here are some swatches of these beauties:

So that's it, A lovely few nail polishes to add to my collection for half price, they certainly softened the blow of losing all my files off my laptop,
RubySkullrose xx

Wednesday, 7 September 2011

Brush Cleaning Time!

So this is a job that can be a bit tedious but trust me it is truly worth it and hygienic! Dirty face brushes can contain oil buildup which can block your pores and cause breakouts and dirty eyeshadow brushes will cause your eyeshadow application to turn muddy especially if there is dark eyeshadow on them.
So cleaning your brushes is essential for flawless application. I would recommend cleaning your brushes at least once a month or twice if you have oily skin. In between these deep cleans you can wipe off your brushes on clean cloth after use.
Okay so on to what we will need:
  • Johnson’s Baby Shampoo
  • A sink
  • Yourself
  • A clean old towel to set out your clean brushes on
Step 1

Pour a small amount of Johnson’s Baby Shampoo into the palm of your hand.

Step 2


Swirl the brush around in the palm of your hand, you will notice the product starting to come off.

Step 3


Rinse of your brush until the water runs clear and you have a lovely clean brush! (while rinsing hold the brush downwards and only wet the brush part do not let water go into the ferule i.e. the bit where the metal and wood meet)
Step 4
 
 
Gently squeeze off the excess water with a clean dry towel, and reshape your brushes before finally setting them out on a clean dry folded towel with the brush end hanging off the edge of the towel.
Once they’re fully dry you can gently swirl the fluffy brushes on the palm of a clean hand to fan them back out a bit. I hope that was useful for you, happy cleaning.

Till next time,
 RubySkullrose xx
 

Green and Purple FOTD

Today I used my 120 palette to create a green and purple eyeshadow look, I wasn’t going anywhere in particular but the day looked nice and I felt colourful.


For the highlight I used Bourjois “Blanc Diaphane”, Its a pretty shimmer white


The lipstick I put on at first was Rimmel Londons “Be Bold” a fab coral shade, I decided to use Gosh lipstick in “Darling” to tone down the colour for going out during the day and the result was very pretty:


Until next time,
RubySkullrose xx

Zombies!

Hey everyone on the 23rd of July I participated in the Dublin Zombie Walk. It was so much fun and was to raise money for the RNLI and Irish Cancer Society. Apparently there were over 400 zombies in the walk and we raised around 5000 for the charities. No official recorder showed up so the numbers were not recorded officially so hopefully next year we will have one. It was so much fun that next year I surely will be heading to it again. Here are some photos from the day,

Me as a Zombie, Makeup done my yours truly


Cool zombie


Zombie Bride and Priest


Zombie Jesus


Some fake blood on the path


Until next time,
RubySkullrose xx

Greetings!

So I’ve bit the bullet, took the bull by the horns and decided to do something I’ve been thinking about for quite some time, and that is write a blog. Mostly I’ll do makeup looks (FOTD aka Face of the day) or nail looks (NOTD aka Nails of the day), makeup reviews and I’m sure there will be a bit of personal life threw in the mix also. So sit tight and watch this space,

Ruby Skullrose xx